
UPDATED!!!
Check out the link below!
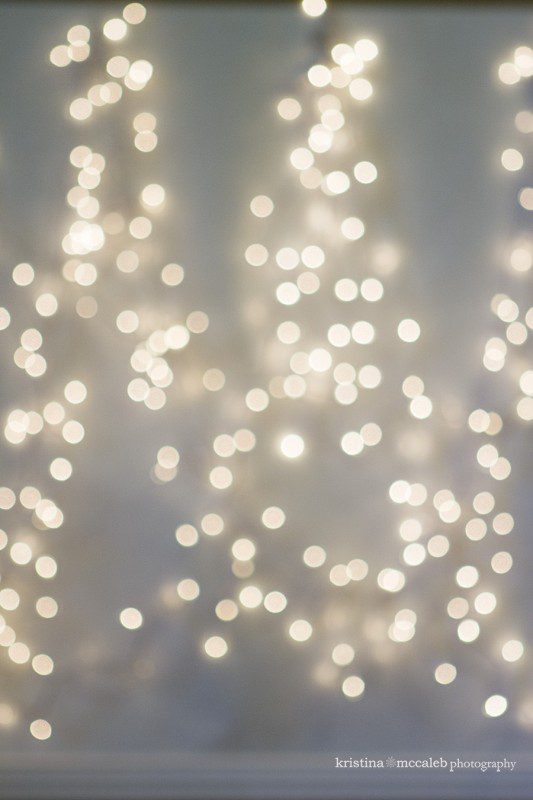
HOLIDAY BOKEH!
I love light bokeh. I mean, really, what photographer doesn’t.
If you are just starting out or wondering what in the world bokeh is, it is the out of focus area of the photo.
(though don’t even ask me how to say the word… because I say it wrong 😉
I really like the way it makes the lights look. Something about it is just dreamy.
.
I am sure if you are like me you have seen photos like this on Facebook or pinterest. But I wanted to show how easy it is.
.
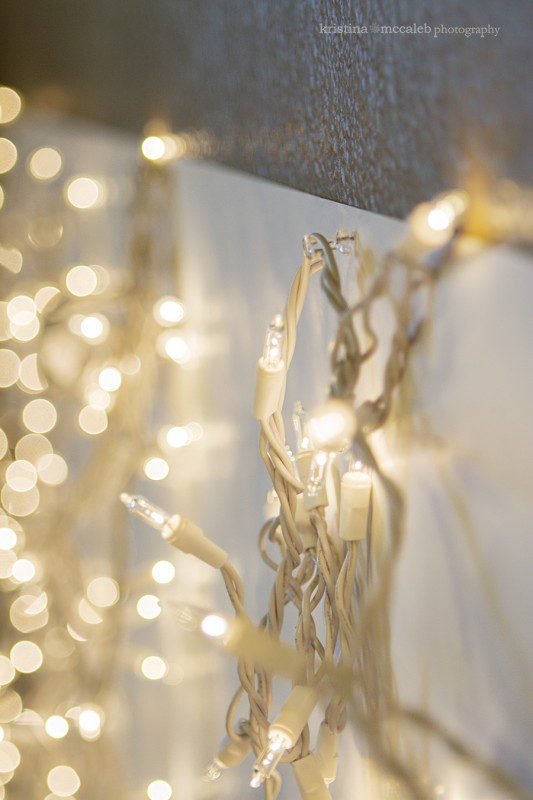
First the lights. I love the way the white lights look. Make sure you get white cords though!!! I used the icicle lights and then filled with regular white lights.
.
.
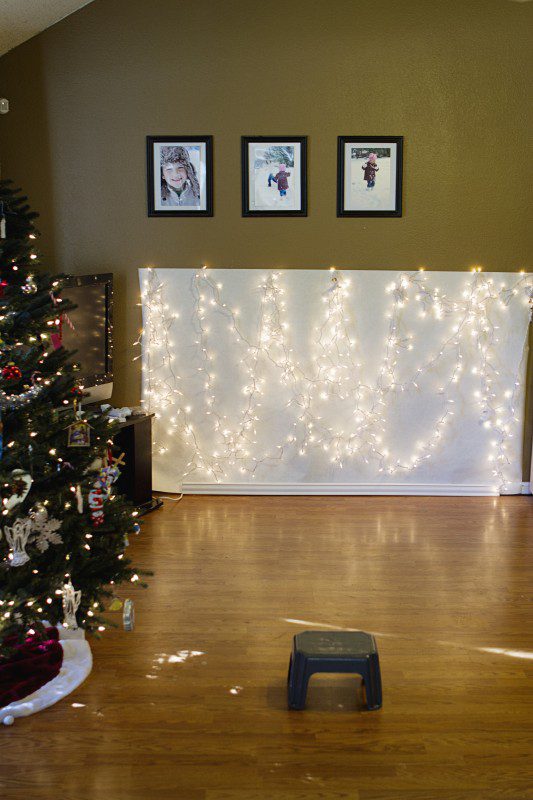
You will also need a good amount of space, so I did this one in the kids playroom. The playroom is a mocha color so I covered the area I wanted to use in paper. (Yep, the 5.99 rolls of paper at Mardel or Hobby Lobby are great! Just head to the teacher section!)
.
.
So with the paper hung on the wall, I put thumb tacks up to hold the lights.
.

.
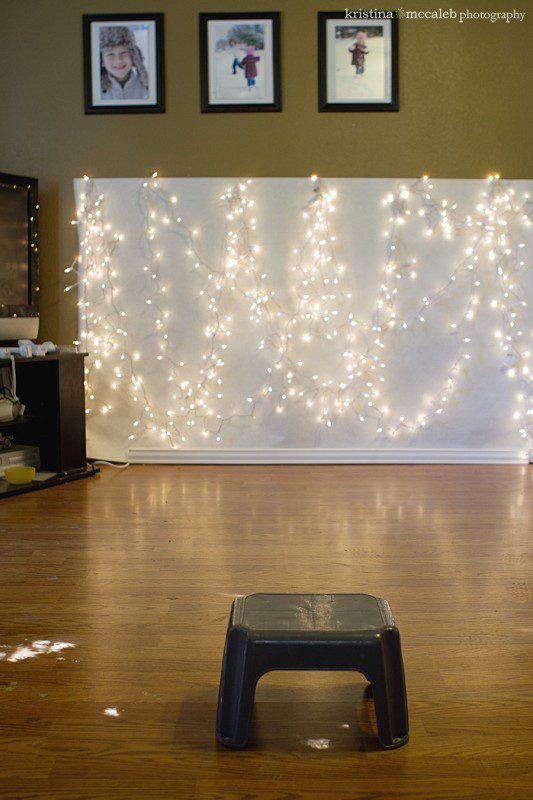
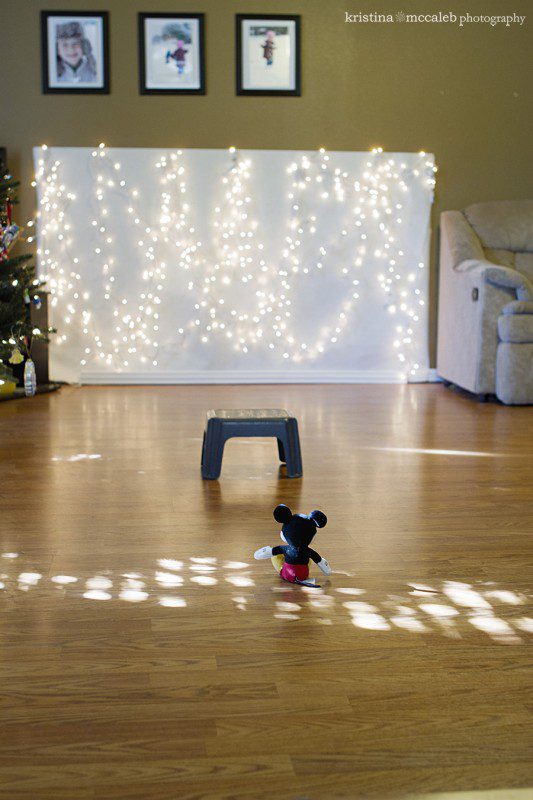
To get the right look you have to put your subject far enough in front of the background. Fi sat on the stool.
.
Here is a wide shot of the area I used.
.
.
.
I had her far enough in front of the background so I could focus on her and get the white wires of the Christmas lights to blend into the white wall.
(I had the window to the right of her open and pushed light back to the left side of her with some foam core.)
.
I sat pretty close to her 🙂
.
.
.
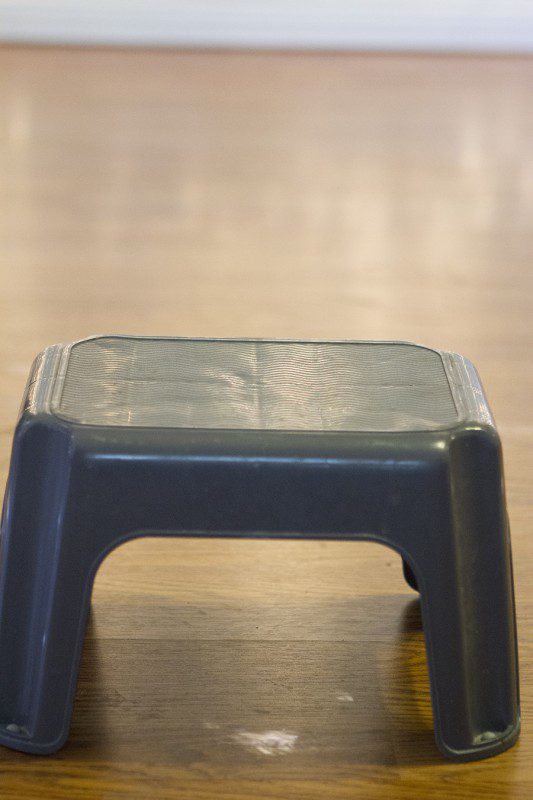
For an example I focused on the stool here.
.
.
.
and then recomposed to where she will be setting to make sure that I had just the right amount of bokeh.
.
.
.
Here is another wide shot… Mickey is sitting in the spot I was.
.
.
Then with your widest aperture you can focus on the subject and ta-da!
.
.
.

..
Now how happy or grumpy your subject is will depend on many other factors, but that is a post for another day 😉.
